It’s vacation time: a delightful stretch out of our comfort zones into warm and sunny new adventures. Why not sneak in a couple stretches to keep yourself loose? Maintain that flexibility you worked so hard all year to achieve. No worries. I created the perfect yoga sequence to keep you stretched and flexed!
And the theme for this yoga class is: the shortest amount of time and the most effective yoga postures! Add some cool shades, pink lipstick and painted toe-nails and we are good to go!
As always sit quietly and breathe deeply before you begin. Stay here for a few moments. If you wish to take part in the meditation, move onto the next paragraph. If not, simply proceed to the first yoga posture, Butterfly Stretch!
To begin your meditation, close your eyes and extend your mind beyond yourself and your cares and worries. Stretch your mind to think higher thoughts, thoughts about God. Focus on the incredible love that He has for you. As you move into and out of these stretches, allow your thoughts be transformed. Don’t allow anything to prevent you from enjoying His mighty love for you. Remember, You are worth it. You are loved!
My love stretches to the heavens, and my faithfulness extends to the clouds.
Psalm 36:5


1.) The Butterfly Stretch:
This stretch increases our hip and leg flexibility. This is the first step in preparing our body for the next position. With deep, conscious breathing, stress is more readily released. Remember that even the smallest of stretches benefits your body in so many ways, so stretch on!
- Sit with equal weight on both of your sitting bones.
- Bring your feet together (bring your feet closer to your body for a deeper stretch and forward for a less intense stretch).
- With a big inhale, pull your stomach in, lift your chest, press your shoulders down, lengthen your neck, lift your chin, and stretch your head back.
- With a big exhale, fold forward out and over your legs. Lean on your arms or hands, and pull your head to your heels if possible.
- Repeat the stretch 5 times. On the 5th time, stay in the stretch with a normal breath for 20 seconds.


2.) Straddle Stretch:
Here, we take it a little deeper. Lowering your head to each knee stretches your thighs and hamstrings. Lowering your ear to each knee engages and opens up your sides.
- Extend your legs out to your sides with your toes pointing up. Your sitting bones should be fully on your mat with equal weight on each. Try to maintain this throughout the exercise.
- Pull up on your torso with a big inhale in the middle.
- Exhale slowly while stretching over each leg 5 times (lower your head to your knee).
- Repeat the stretch, but lower your ear to your knee instead; repeat this with 5 deep breaths on each leg.
- Try to grasp your toes and look up.
- Use your foot to gently pull your torso down for a deeper stretch.

 3.) Wide Legged Straddle Stretch and Wrap:
Lately, I have become a huge fan of yoga wraps and binds. Afterward, I always feel much lighter, brighter, and calmer. Remember that even a little stretch, or a little bind, is a start. Your body will always benefit from even the smallest attempt!
- Sit up straight on your sitting bones
- Gently pull your right leg into your body as far as you can.
- Dig you heel in to maintain the stretch. Breathe deeply and press your palms together for 10 deep breaths.
- If you can, lean forward, stretching your arm out in front of you.
- Now wrap that arm around your bent knee. Move your other arm behind your back.
- Meet your palms together and stretch.
- Sit up tall and hold this position for 10 deep breaths, then switch sides.
- You may find it a bit easier by exhaling all your breath out as your wrap.

4.) Lying Leg Stretch:
This stretch really does the trick, but we have to be willing to pull our leg down and body up to accentuate the stretch. Try using workout cables or a towel to pull your leg closer to your head. I try to find a piece of furniture (like the bottom of my bed) to stabilize my foot so I can stretch farther.
- Lie back, raise your leg, and gently pull it toward you.
- Keep both legs straight. Your bottom leg may remain on the floor.
- Pull your leg to your head, breathe deeply, and hold for 5 counts.
- Switch legs and repeat the stretch.
- Alternate each leg for a total of 10-20 more stretches.
- Or you can simply hold the stretch and breathe deeply. Or do both!
 5.) Half Split:
This is a terrific stretch all around, especially to maintain mobility and inner strength. This stretch is the predecessor for a full split.
- Kneel and extend your right leg forward.
- Lower your torso and lower your head to your knee.
- Keep your arms out to your sides for support.
- Breathe deeply.

6.) Low Lunge:
Try to stretch in this pose by extending your back knee farther out. Don’t let your front knee extend beyond your toes though.
- From Half Split position, simply bend your forward leg.
- Move your torso forward.
- When you have gone as far as you can, breathe deeply.
- If you are able to move from this position, go back to Half Split position a few times.
- You may find that you will be able to stretch farther each time!
 7.) Full Split:
For me, I will attempt a Full Split even if I only fit in one of these stretches before it! It may not be the best way to attempt a full split, but when I’m short for time it works for me!
Positions 5,6, and 7 are meant to flow together with the same foot forward. Simply pick a leg as your forward leg and stick with it for all three positions before you switch legs. The picture has 2 different legs forward; that is why I am mentioning this.
- From Half Split position slide each leg out and away from your body.
- Your hips should be squared forward.
- Your back knee should be tucked.
- Try not to sit on your forward leg; maintain the hip position.
- Stretch over your forward leg, as far as your arms can stretch.
- Breathe deeply up for 10 breaths.
- You may also try going in and coming out of this position a few times, if you want!

8.) Forward Fold:
Stretch out your back and those tight hamstrings!
- Sit with equal weight upon both your sitting bones.
- Inhale deeply, lifting your arms up.
- Exhale deeply as you fold over your legs.
- Grasp your toes if you can, gently pulling your head to your legs. All stretching benefits your body, even a little!
- Repeat inhaling up and exhaling over your legs 10 times.
 9.) Forward Bend- Leg Bind:
This twist develops shoulder flexibility, tones your abdominal organs, and stimulates intestinal function. Your breath may shorten and feel more labored as you twist or bind. Simply try to maintain a steady breath.
- Sit with both your sitting bones equally on your mat.
- Bend your left knee and pull it towards you.
- Lean slightly forward.
- On the inhale, circle your left arm out in front of you while placing your right arm behind.
- On the exhale, try to meet your palms together behind you.
- Breathe steadily for 20 seconds to a minute – wherever the bind takes you!

 10.) Table Top or Reverse Plank Pose:
These stretches act as counter poses after some intense forward bending.
- Sit with your knees bent.
- Place each palm behind each hip with fingers pointing toward your feet.
- Slowly press through your heels and your palms and stretch up by lifting your hips and chest.
- Also let your head fall back and lift your chin.
- Your palms should be directly below your shoulders and heels slightly back from your knees.
- Simply keep your legs straight as you lift your hips and chest up for more of a challenge.
- Hold each pose 10-30 seconds or longer if you choose.
- Don’t forget to maintain a normal breath.
I hope you enjoyed this quick stretch that I created, especially for you! Thanks for stretching and flexing with me. I hope you will come back and try a few more classes. We are a Christian yoga ministry after all, so we do not charge for our services. We are blessed to serve you and we are so happy that you stopped bye! Love and light and may peace always be with you!!
xxoo
Penny


 4.) Squat Pose Variation


 7.) Warrior I With Eagle Arms


 3.) Warrior III


 6.) Warrior I Knee Dips


 8.) Down Dog Side to Side


 11.) Half Moon Stretch


 16.) Hand to Toe Side Stretch


 3.) Warrior I Pose


 6.) Down Dog To Upward Dog
 7.) Half Bow Pose to Full Bow Pose
 8.) One Legged Forward Bend
 9.) Half Camel To Full Camel Pose


 14.) Child’s Pose
 yoga on!


 21.) Savasana
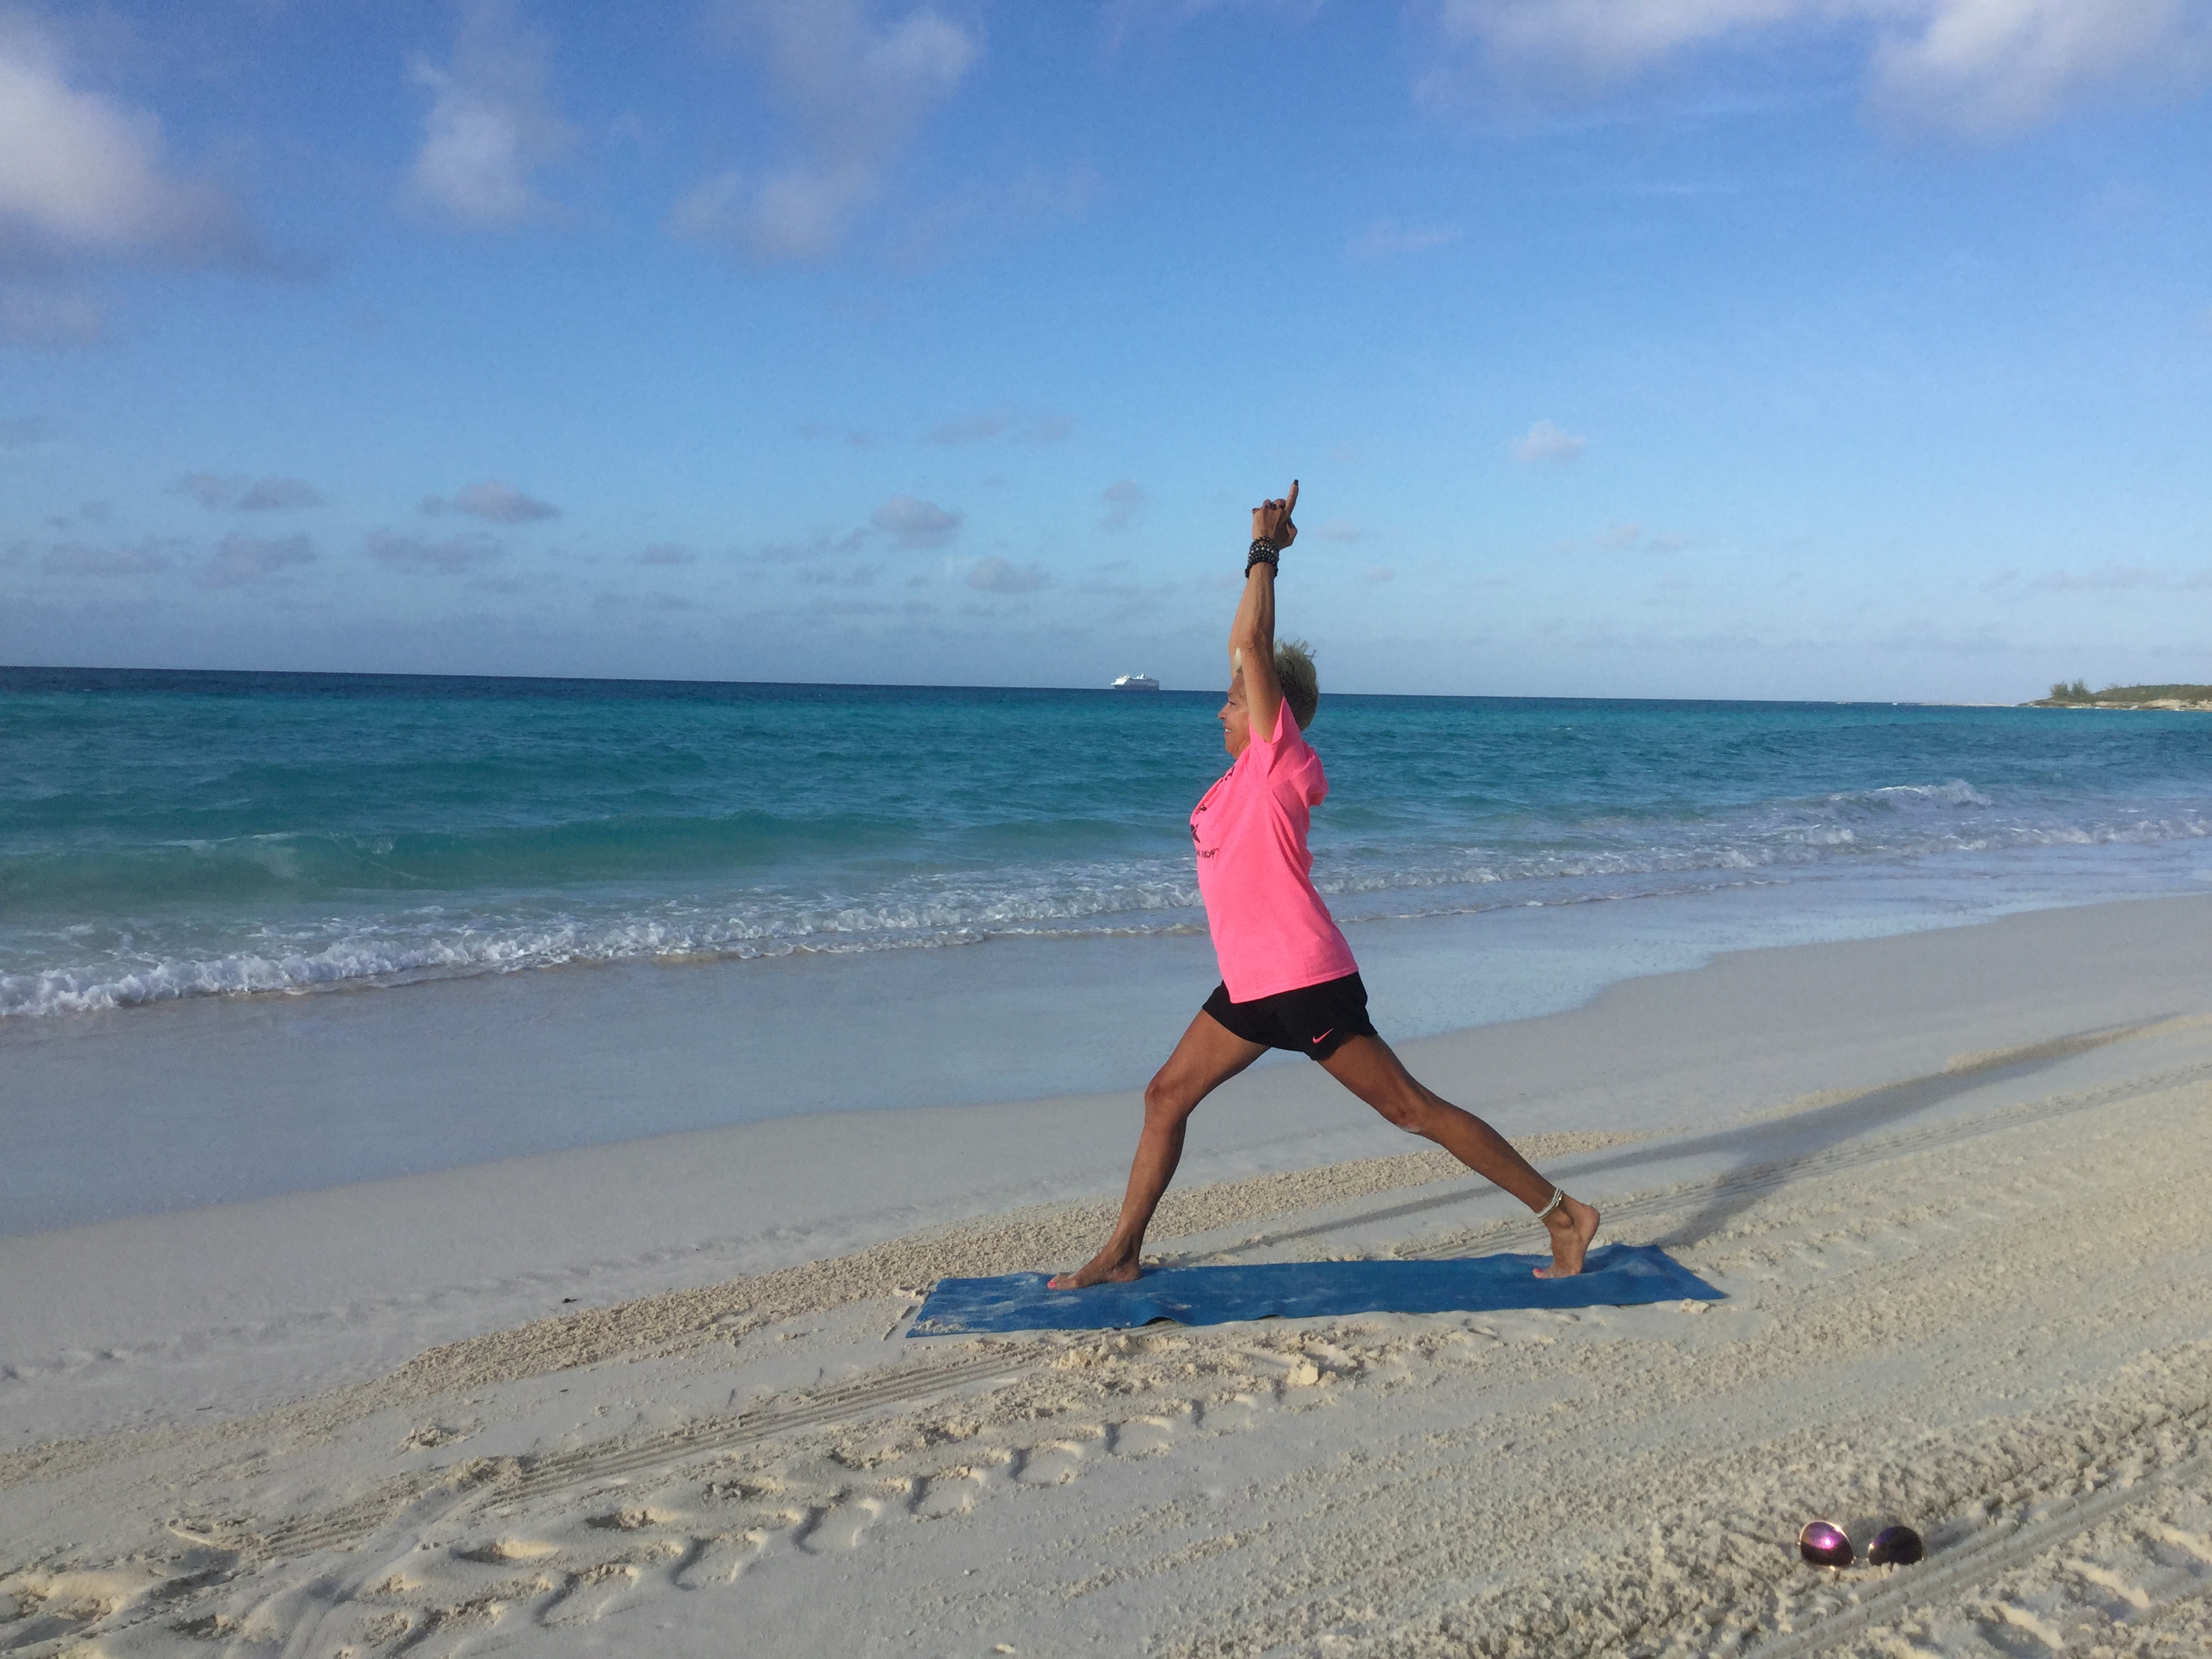