Hi and welcome to this month’s “Yoga with Penny!”
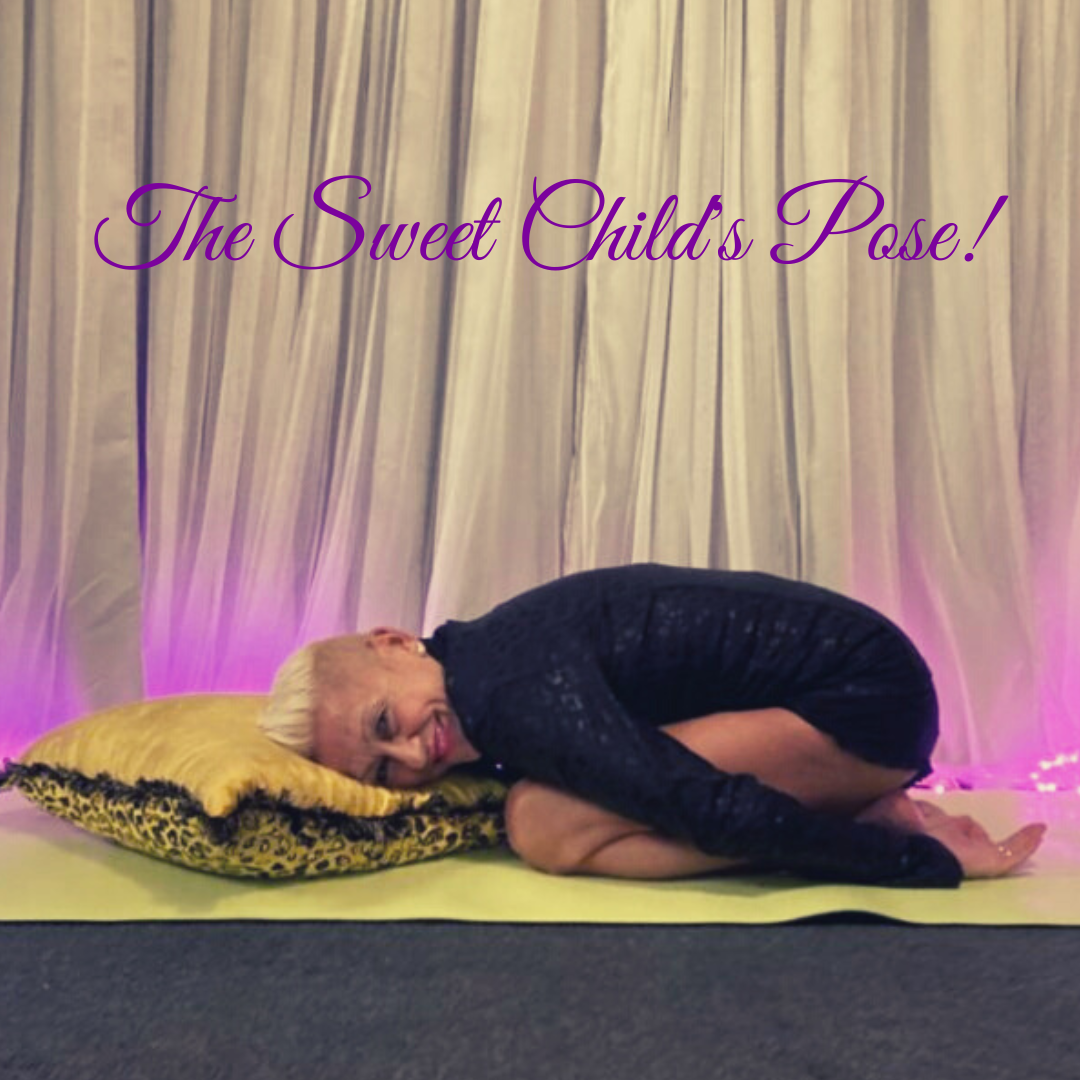
With the uncertainty in the world and the touches of spring everywhere I thought a Child’s Pose might offer a way for us to sit still for a moment and just breathe. A comforting way to help us find some peace and quietness among the chaos that is upon us in these uncertain times. Who knows, we may bloom and come alive again!

Sometimes, our minds and our bodies could really benefit from logging out and shutting down. Focusing instead on positive thoughts and self care can prove extremely beneficial to our health and our well being during stressful times. Our Child Pose then comes to the rescue. Offering a quiet retreat from the world it nurtures us with it’s tension releasing neck, shoulders and back stretch. Adding a few deep inhales and exhales calms our nervous system, enhancing our immunity and providing a state of well-being. Perhaps it is these reasons it is practiced in mostly every yoga class, for it’s continual restoring and reviving properties proving useful for beginner’s and beyond!
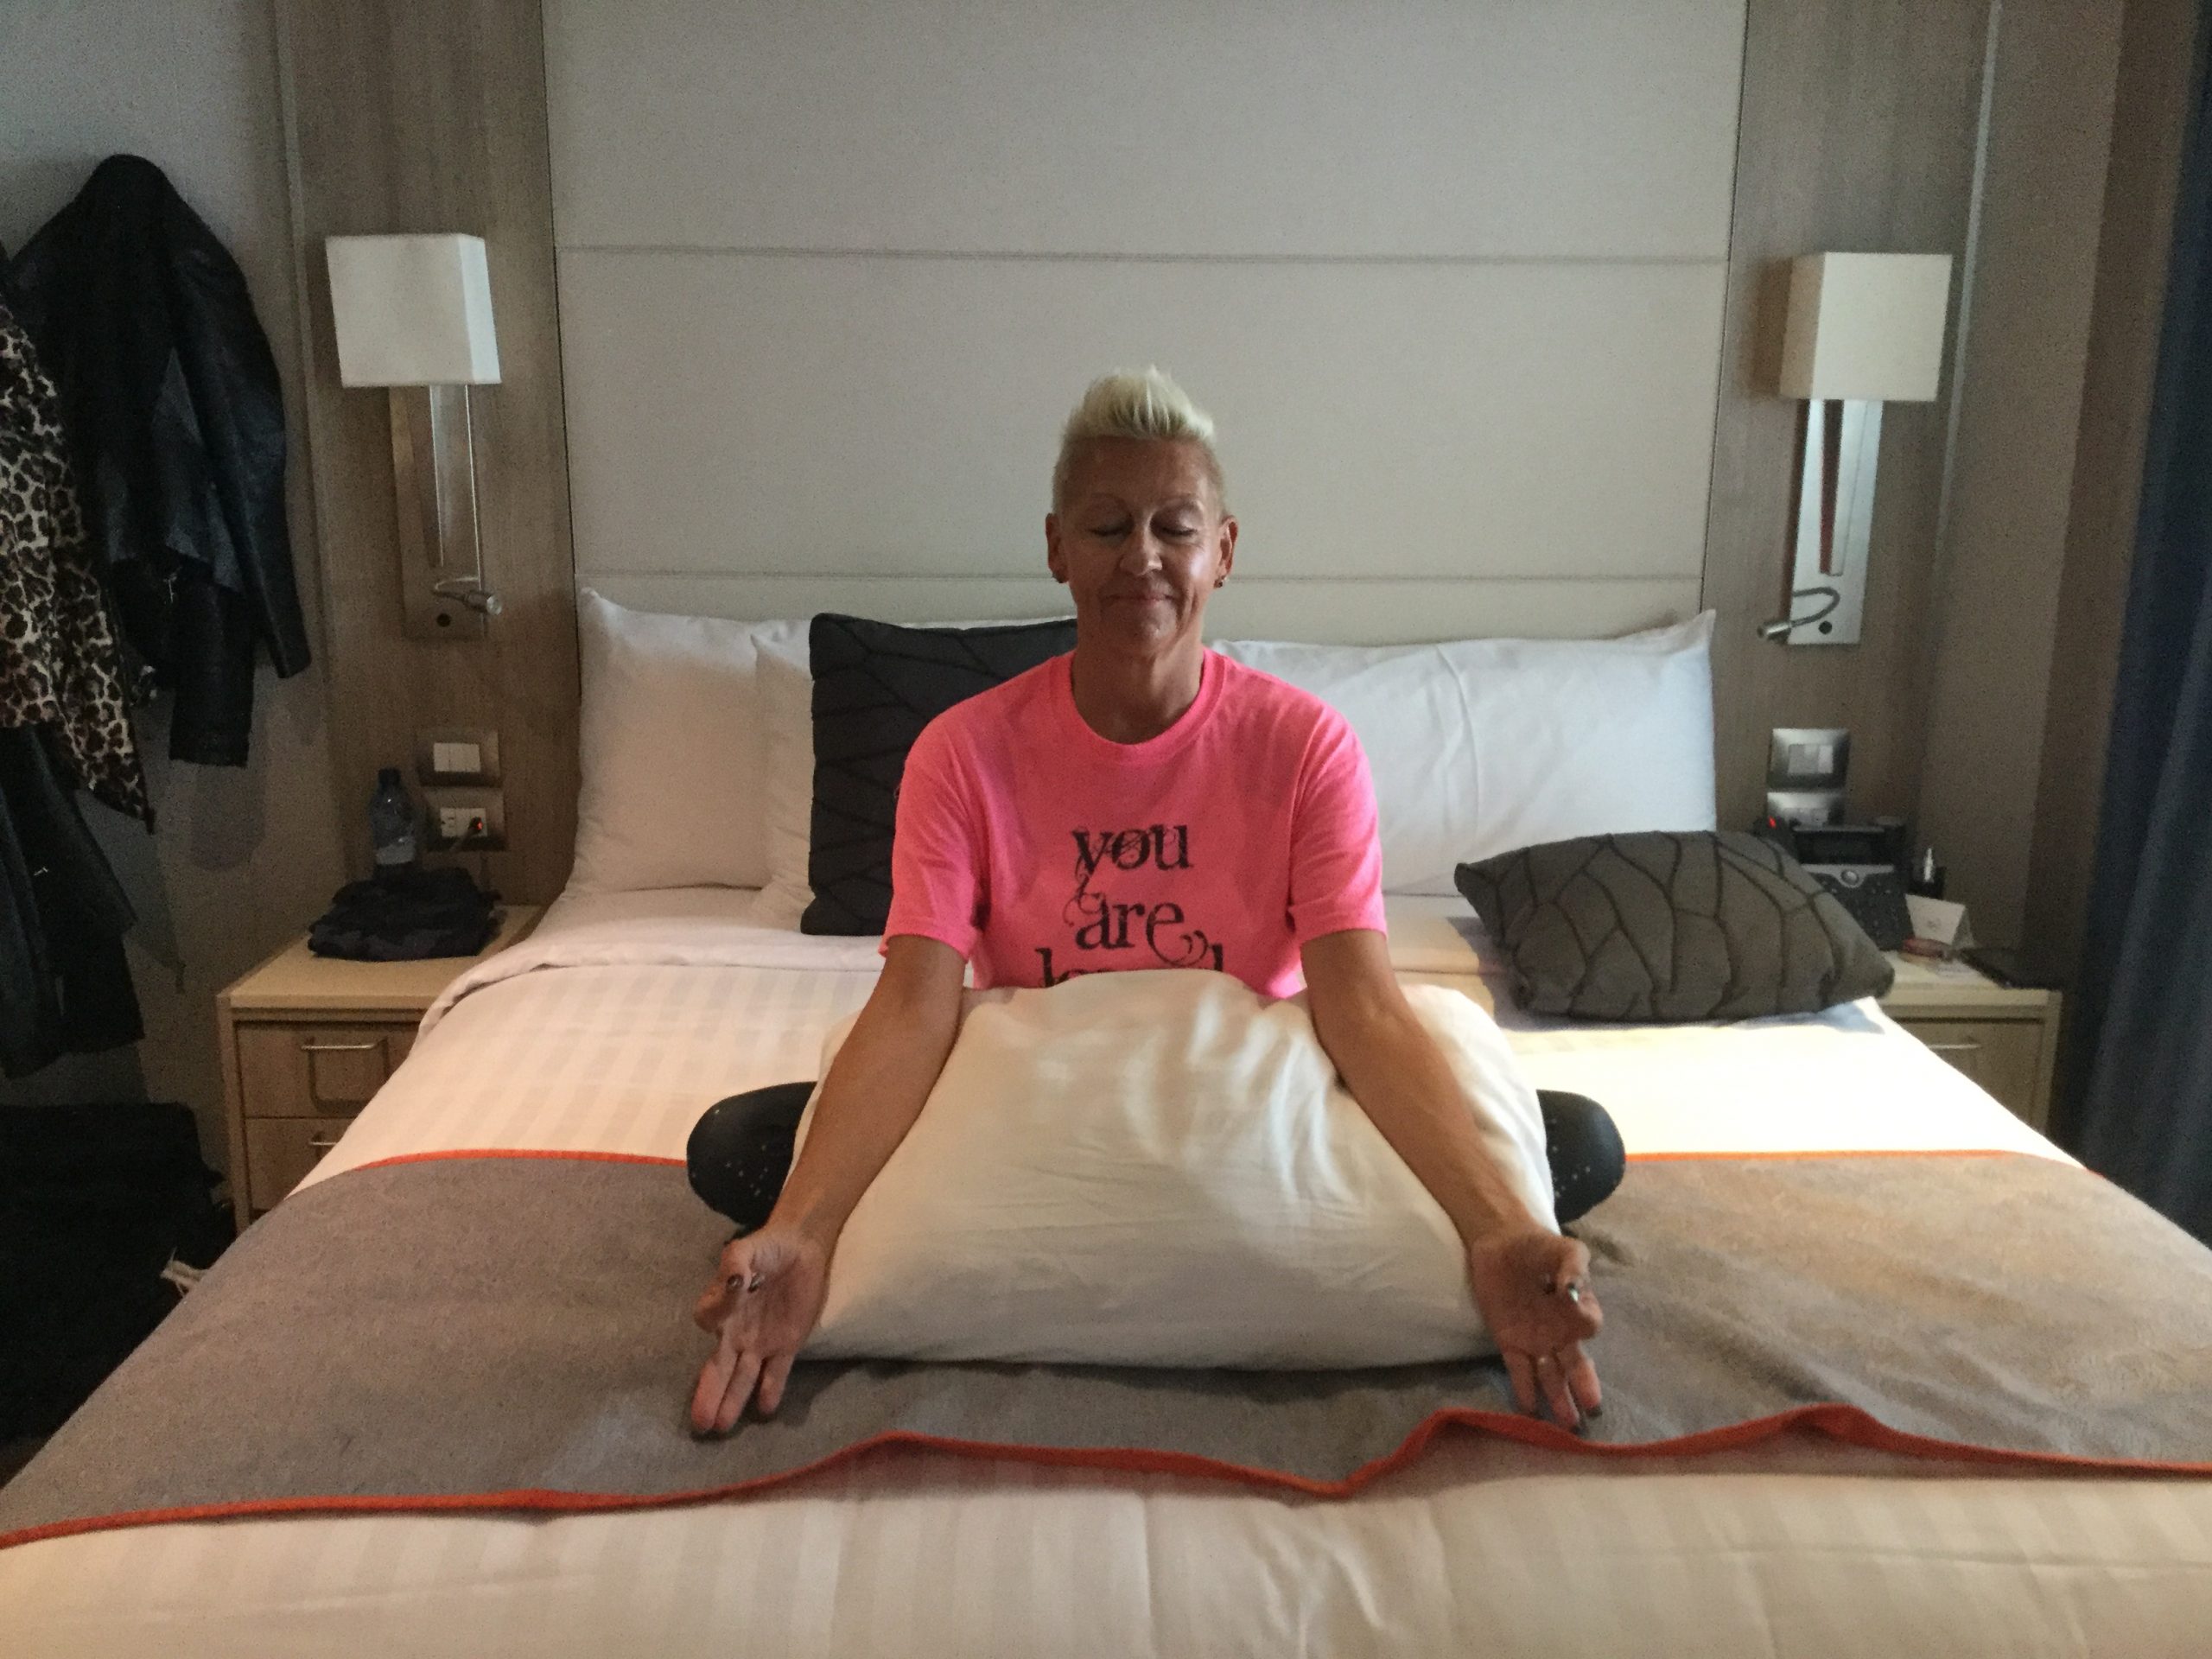
Bending forward over our legs we can rest our head on our mats or a pillow for more support. A rolled up towel can also be placed on our heels. Our arms can be placed above or beside us, what ever which way is most comfortable.
Try to inhale deeply and slowly, beginning in our lower stomach area and up through our mouth. Let all our exhales slowly release back down to our stomach. We can remain in our Child Pose for a few minutes and up to five, ten or even twenty minutes. The point is to let our Child’s Pose work for us. For a deeper stretch in the lower back and hips we can spread our knees and lower our torso to our mat or rest it on a pillow.
Although Child Pose is a basic yoga beginner’s position it enables us to build upon, similar to the beginnings of spring when all the new life is silently growing all around us though we cannot see it. For resting in our Child Pose may silently be growing the seeds of all our future yoga poses which are awaiting their time to bloom!
May you be revived and find a little peace and quiet in your Child Pose!
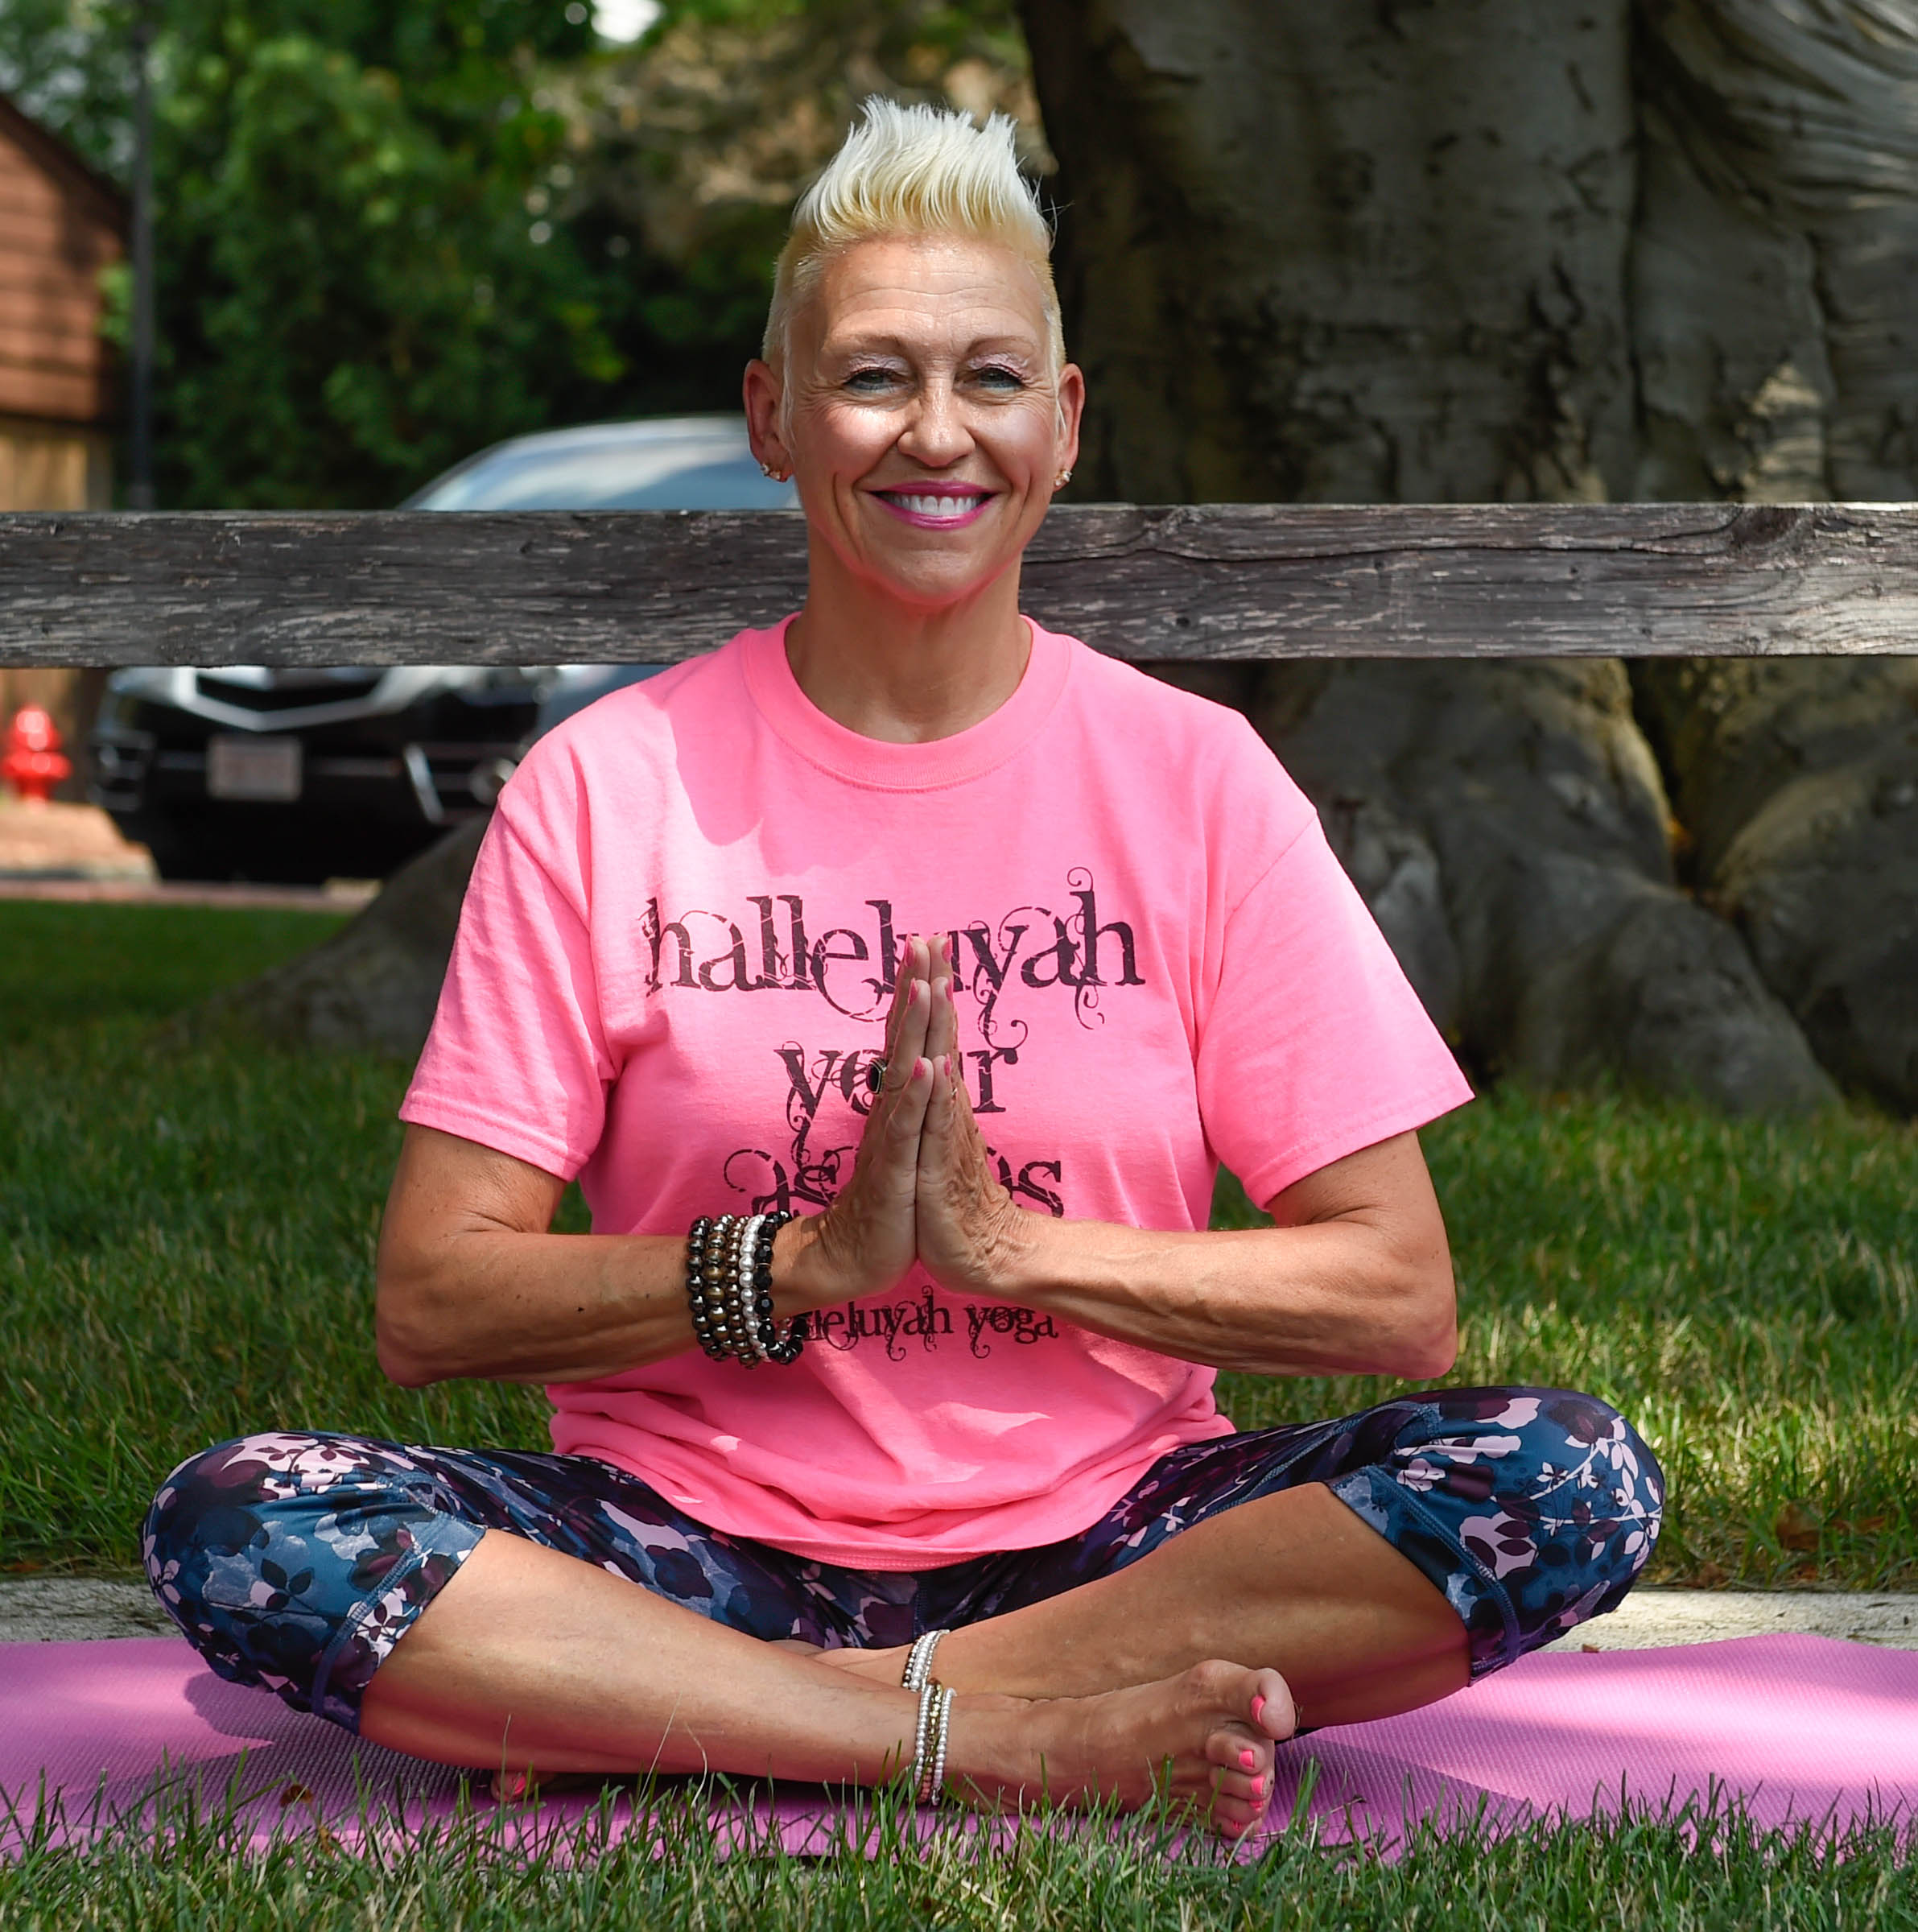
Love and Blessings, Penny!
Penny


 Legs Up A Wall Pose.


 10.) Seated Chair Cobra Pose

 Seated Cross Legged Warm-Up
 1.) Seated Position
 2.) Child’s Pose
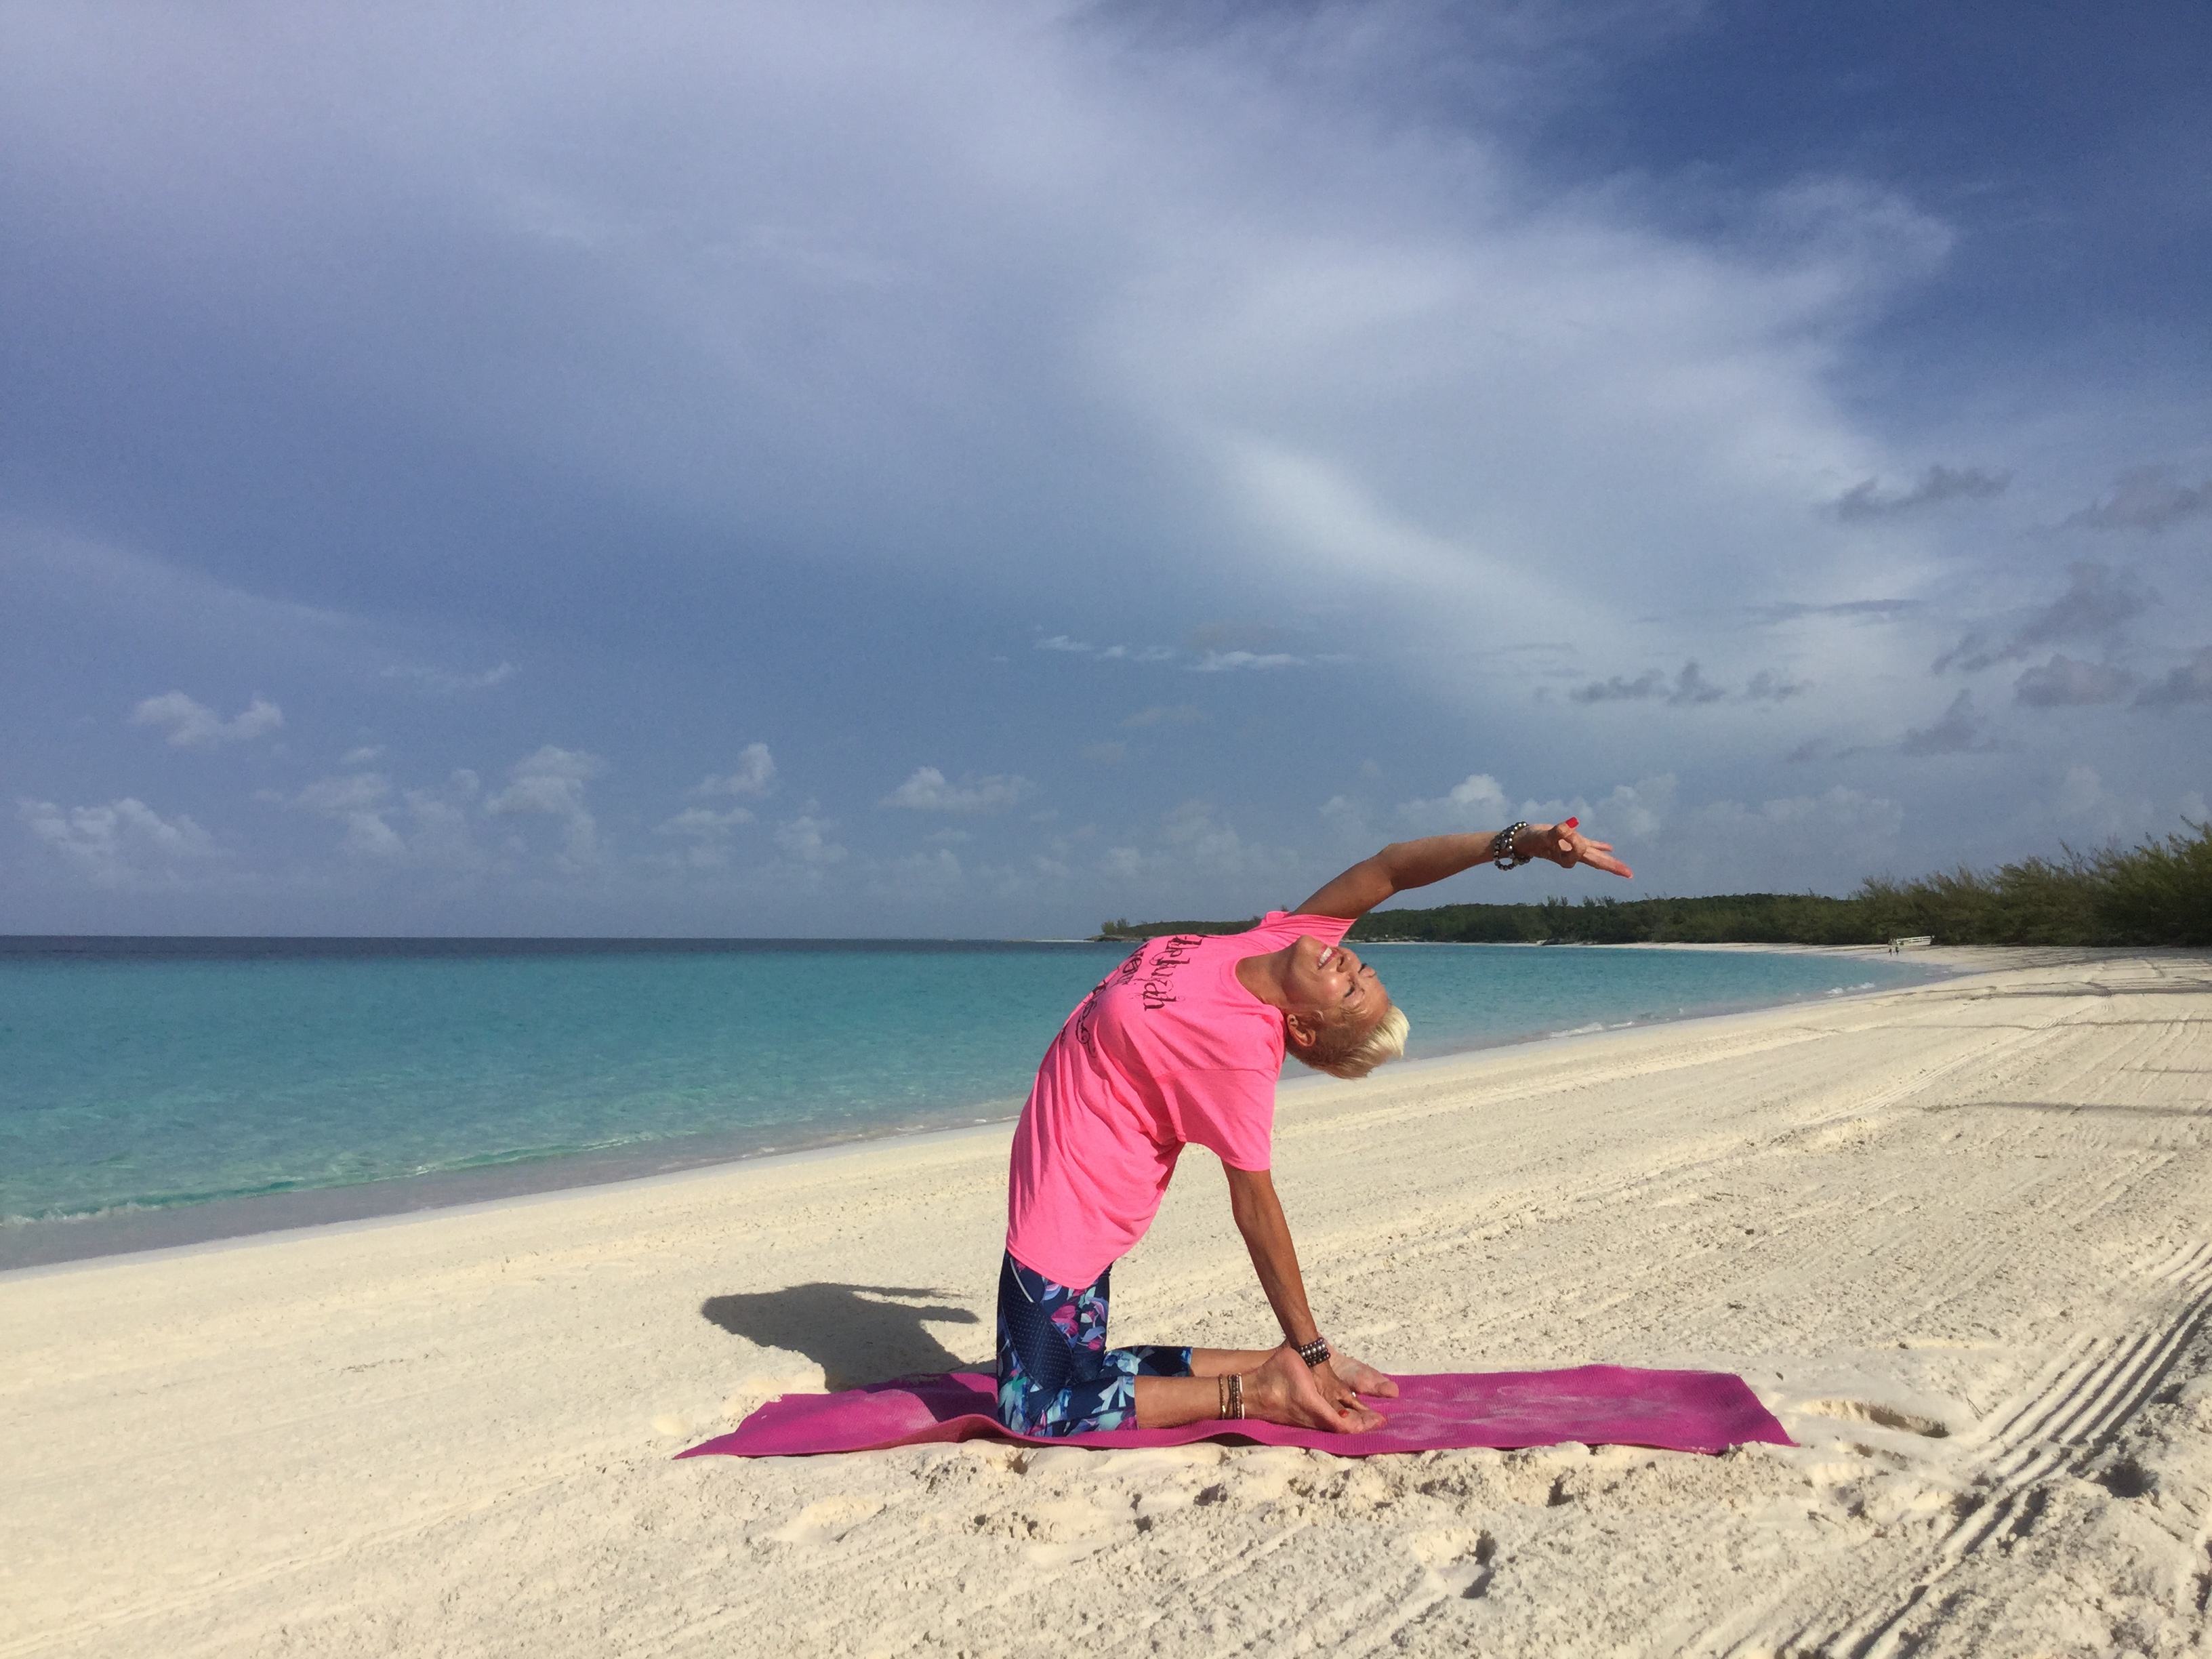
 3.) Cow Stretch
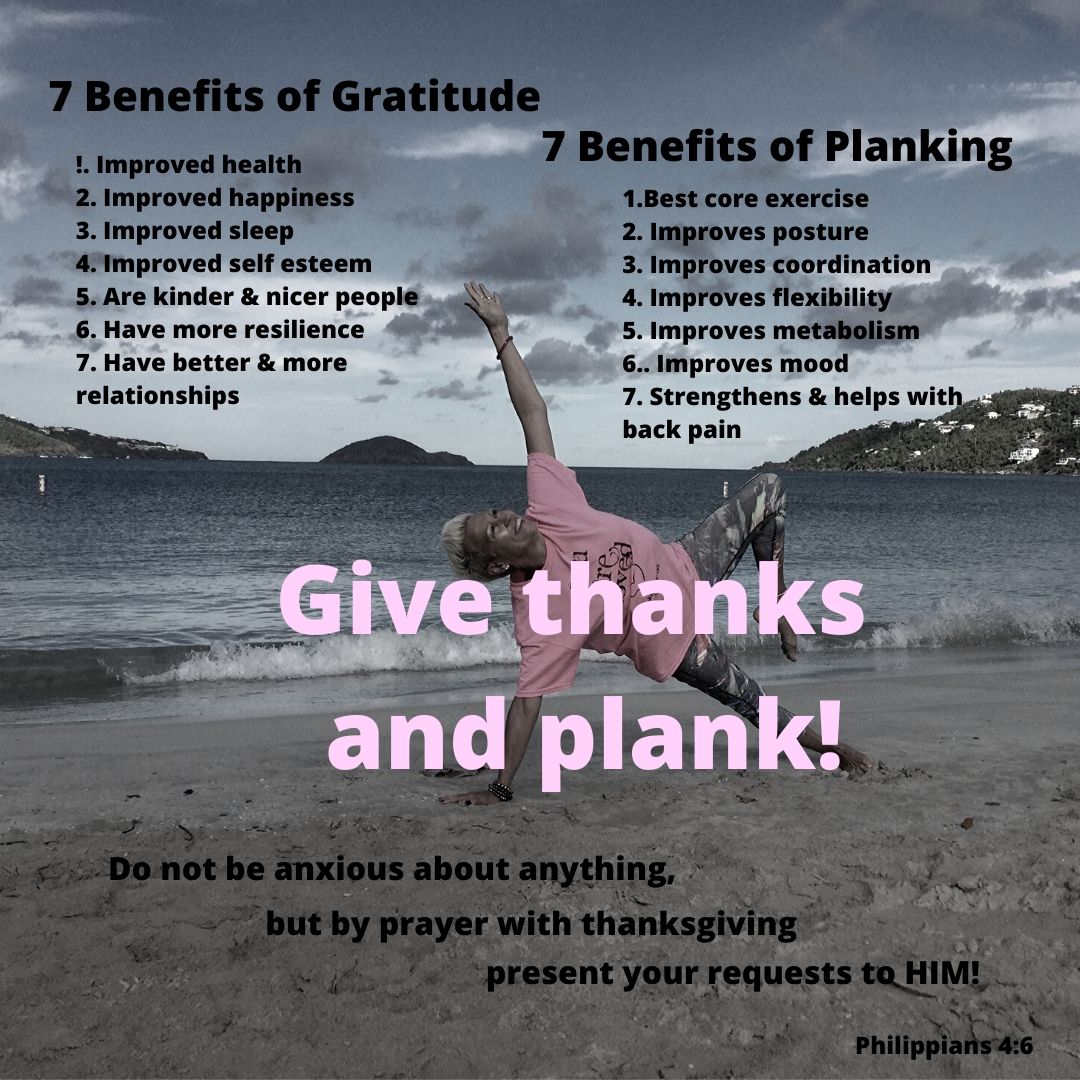
 5.) One Legged Plank
 6.) Plank Pose
 7.) Side Plank
 9.) Table Top
 10.) Reverse Plank